It’s part of my philosophy of growing food that starting the seeds is a critical and beautiful part of the process, not to be skipped in favor of buying seedlings.
It’s also fraught with danger!
My first attempt to start indoors in my new location was an intentional experiment. I live in the city, on the ground floor. My kitchen window faces the back yard, south-facing, but is shielded on the left and right by exterior walls. At best I get an hour of direct sun in the spring coming through that window.
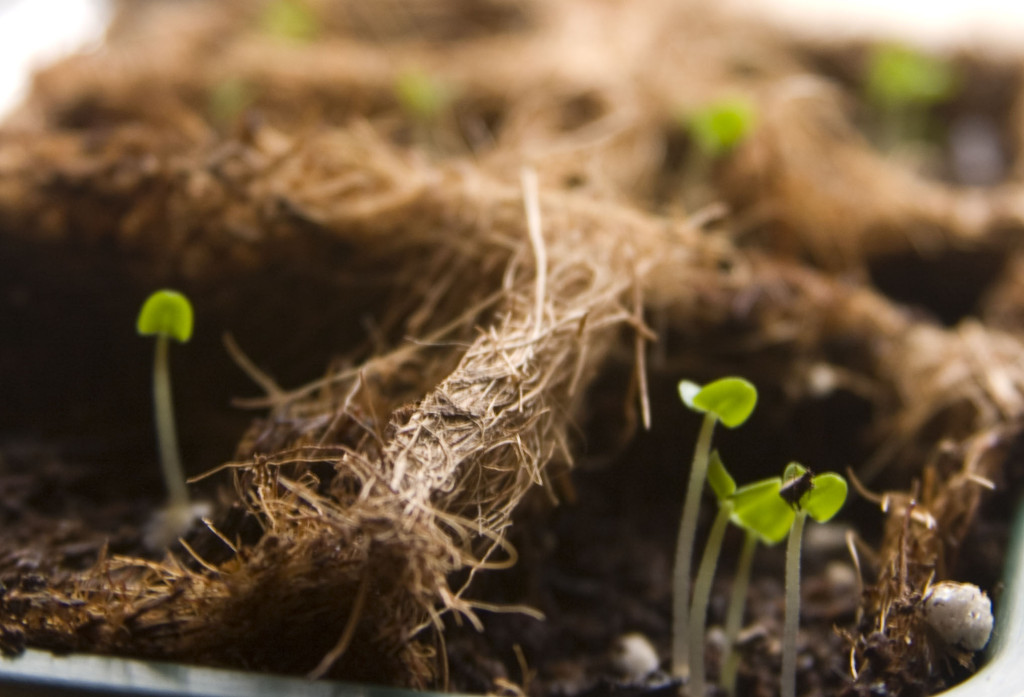
I sowed my seeds mostly in coir pots (cocunut fiber, which works great) and a few into makeshift flats made from cardboard egg cartons (many gardeners recommend this; I do not–they got moldy quickly and killed off many seedlings). I was using wicking trays from Greenhouse Megastore, like these which work fairly well. Make sure you get a good quality wicking fabric–some don’t actually wick very well at all.
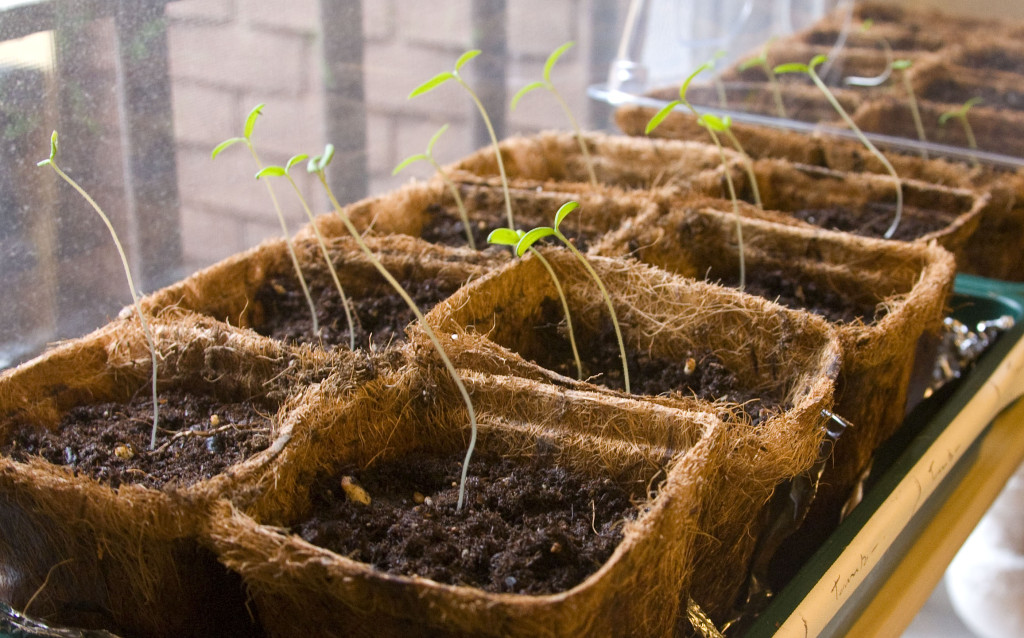
As you can see plainly here, my seedlings were skinny, leggy, weak, and craving light–kind of like your average Brooklynite in early March. They were not so happy and neither was I, but I wanted to see what I could get out of that window for my own reference.
I was too stricken to take photos of the massacre, but about half of my seedlings died that year from damping-off. They were too moist and too shaded.
I also did not take proper precautions regarding mold prevention. Damping-off is caused by several types of mold which grow from spores in the air; there is nothing you can do to prevent the spores from landing on the soil, but you can use a couple of easy home remedies to keep the mold from growing and from killing your seedlings. More on that in my 2015 seed-starting post.
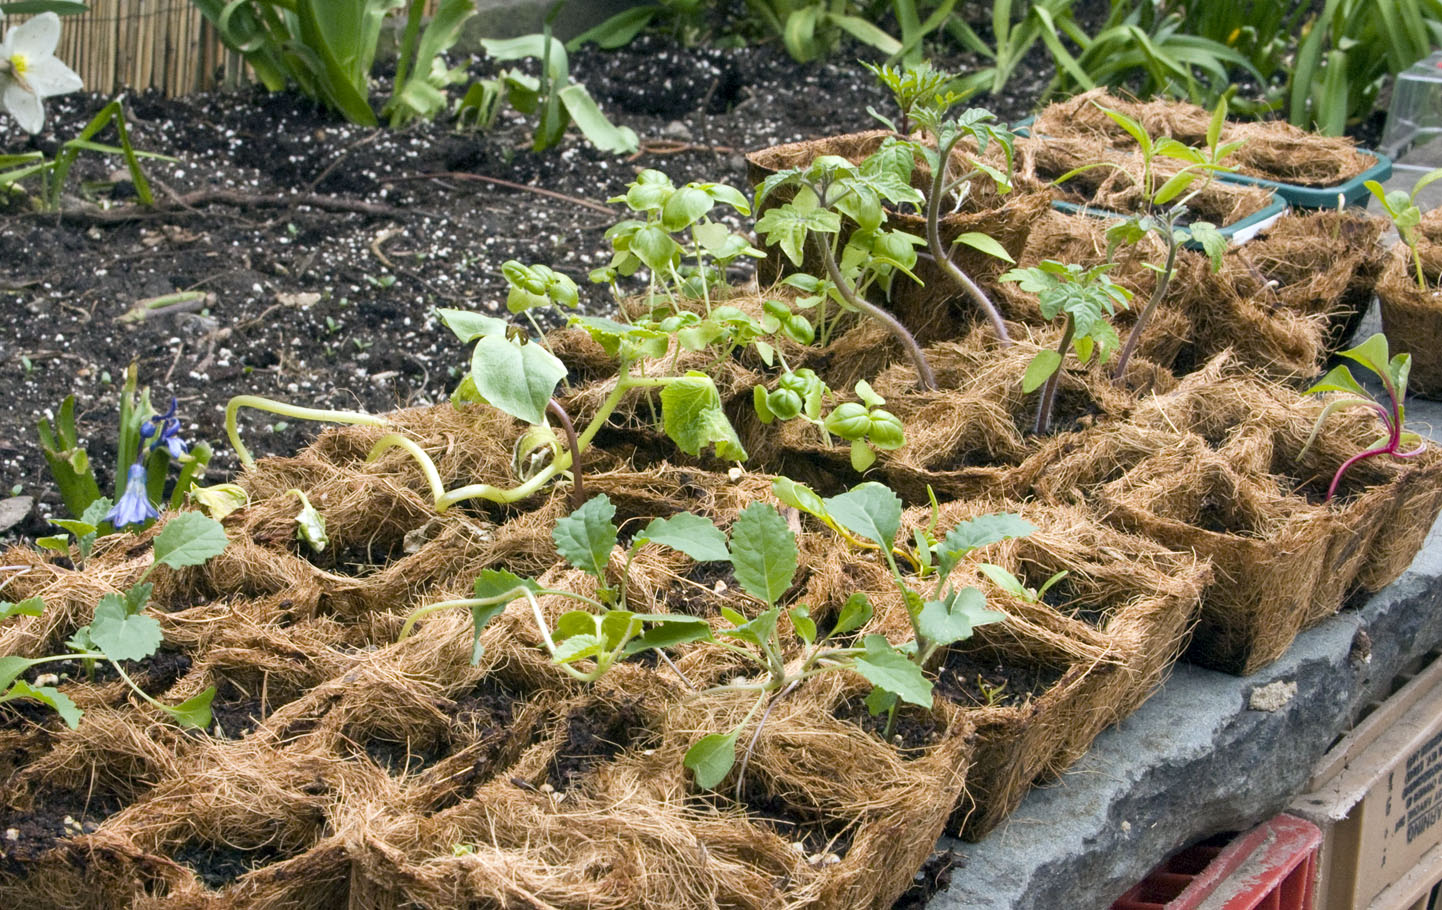
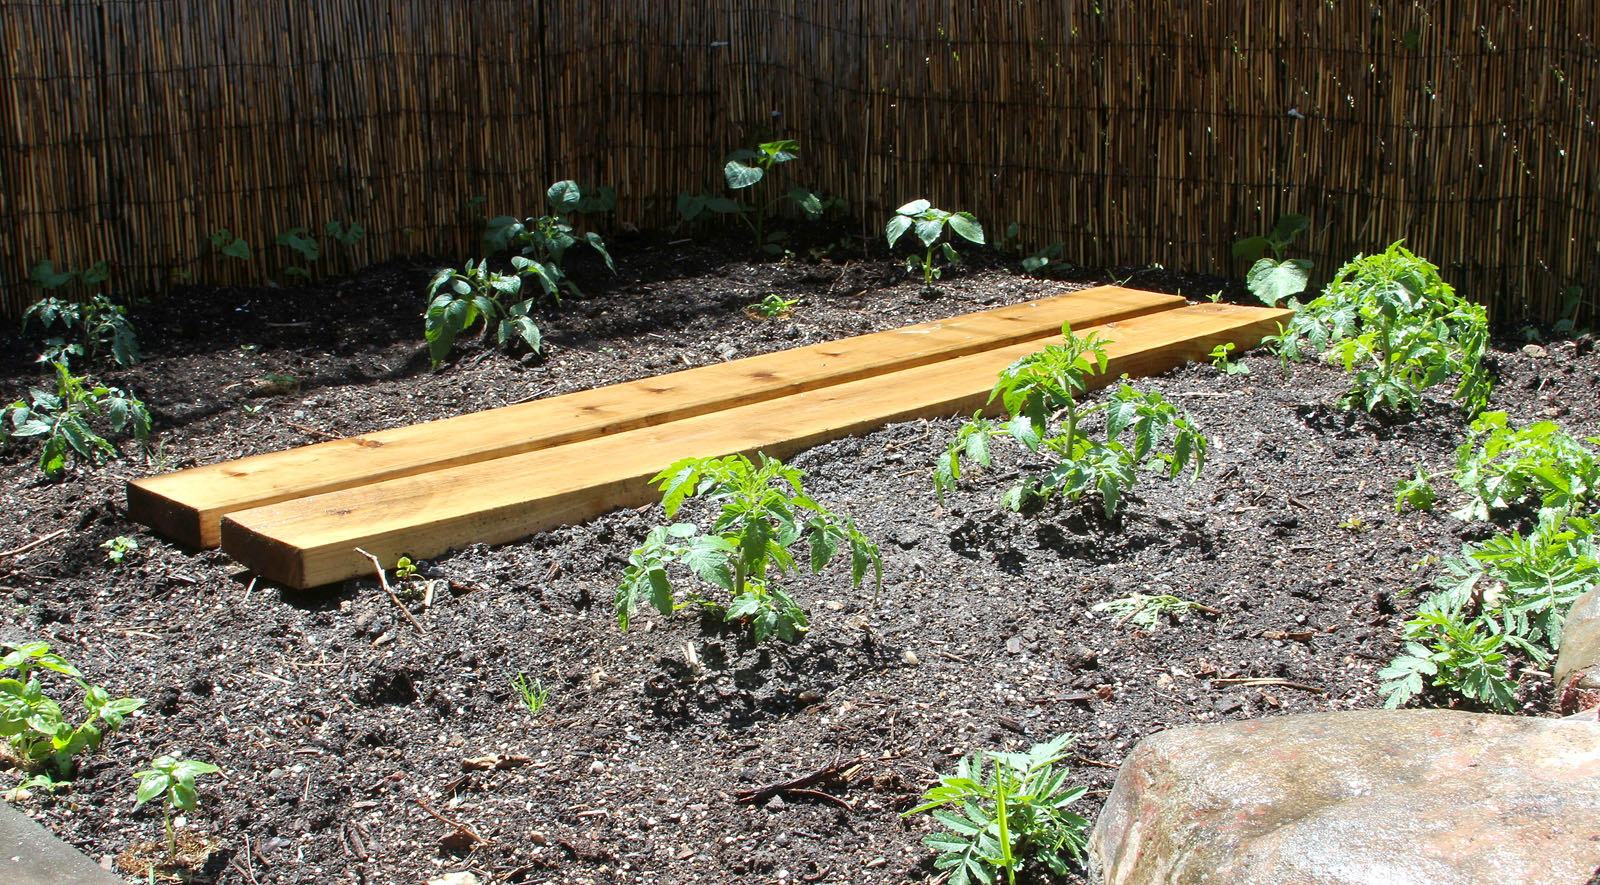
Fortunately, I had planted more than twice the number of germinated seeds that I would need, in case of such a situation. This is generally a good idea anyway, if you can spare the space. By transplanting time, I had enough seedlings survive their earlier ordeal to fully plant the garden as planned. I began taking the seedlings out to harden them off for a few days, bringing them in at night for the first few days and leaving them covered and outdoors for a few more, til they were used to the chilly nighttime temps and the much stronger light they were now getting.


After danger of frost had passed, it was time to plant! That was around late April/early May.

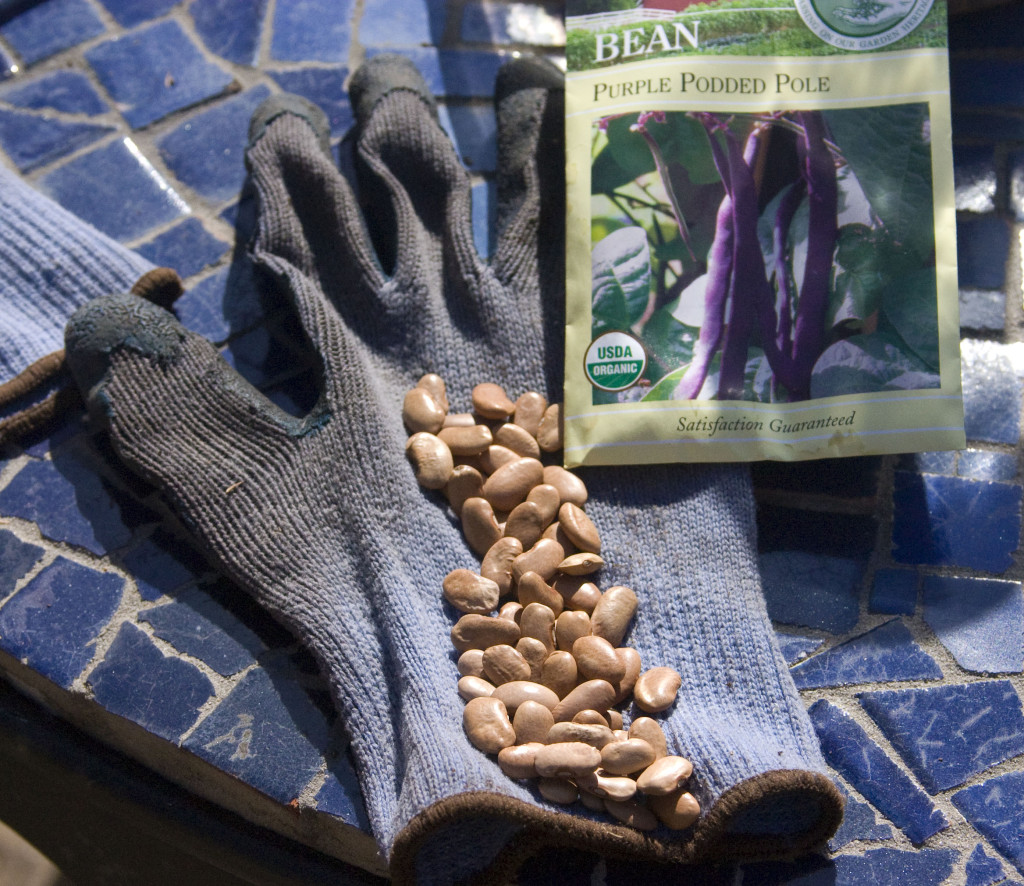
Right around the last frost date had safely passed, I had already direct sowed some beans and other direct-sow crops which skip the propagation phase. This was in late April.

Within a couple of weeks, the transplants were healthy and coming up nicely. Garden season had begun!
Major lessons learned that year:
- A window with less than full sun all day will not be enough for healthy seedlings
- Take precautions against damping off
- Try planting a bit earlier
- More species and varieties can be direct sown than it implies on their packaging.