In early 2015, I was looking ahead to the season and wanting to improve on my seed starting setup. The previous year I tried out a kitchen window for propagation, and saw a lot of leggy seedlings and quite a few die-offs as well. I wanted to step up my seed propagation game.
I carved out a little space in the apartment for a shelf unit for this purpose. Assembled more or less inexpensively from basic Metro-style wire shelving, it took a few trips to a few stores to collect what I wanted.

The main event of this station was two new 12×12″ LED BloomBoss fixtures from a local indoor gardening supply shop. Those ran about $150 apiece. Not cheap, but should last many years. I’ve tried fluourescents before and didn’t want to deal with raising and lowering them every few days, and I wanted something even more energy-efficient. These LEDs emit out a mixed wavelength of red, blue and white light, giving the room a pinkish purplish glow. They emit almost no heat at all and run only a few watts. You can put your hand right on the fixture and it’s barely warm. They are strong enough to stay 12 to 18″ above the plants from germination to transplanting, meaning no raising and lowering of the lights every few days. The seedlings I produced with these lights were strong and stocky.
I use a tray/wicking system for propagation. You just add water to a reservoir beneath the trays, and wicking fabric soaks up the water. In turn, the seed starting soil in the trays wicks up water from the fabric via osmosis, through small holes in the bottom of the trays. Here we have some of our seedlings starting off their new lives.
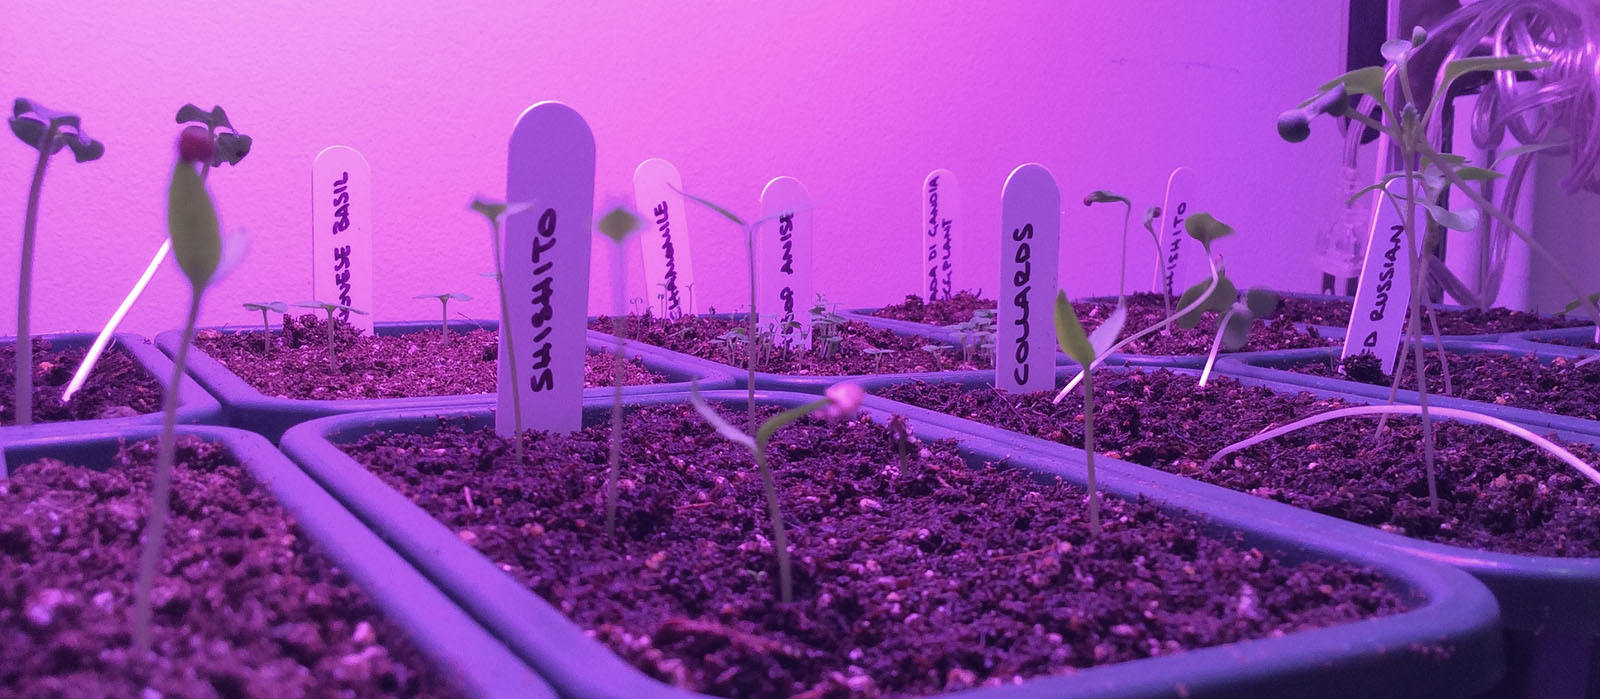
There were two rows of seedling trays plus a few odd extra trays. Below, you can see the seedlings before they grow their first sets of true leaves.

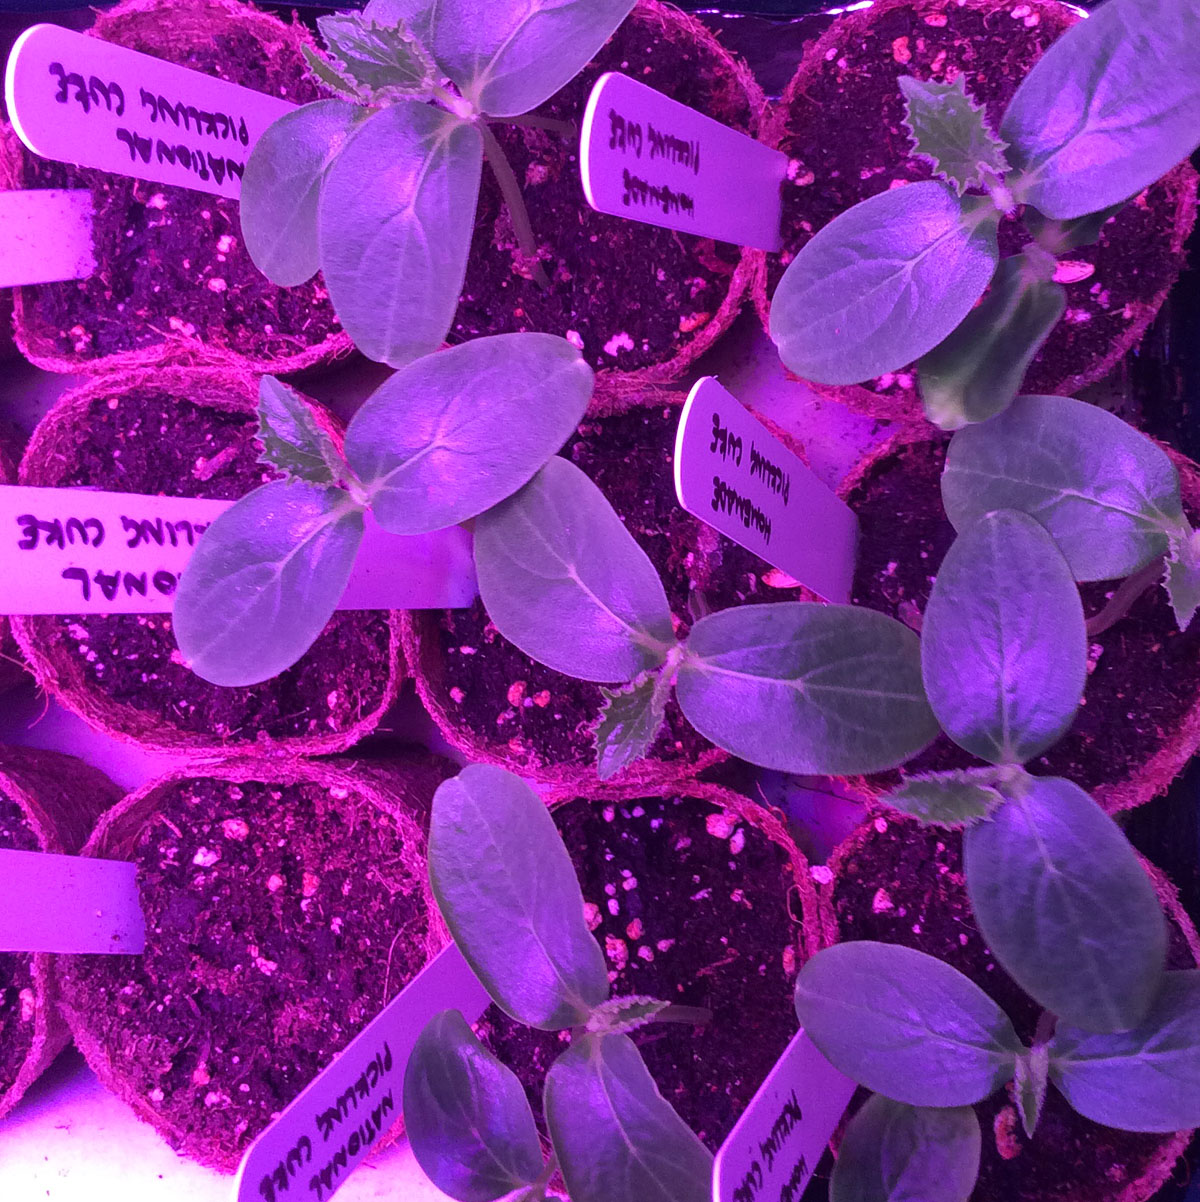
The cucumber seedlings look particularly robust, but I was fooled by their appearance. We used these coir pots (coir being coconut husk fibers), which I like a lot. There are other types of pressed biodegradable pots which seem to be made of compressed paper or cardboard, like egg carton material or some such. Those, I find to get moldy quickly and fall apart in your hands during transplanting. These coir pots I like as they are renewable, are stiffer than the cheaper ones, don’t get moldy, and still decompose in the soil. You can even reuse them during the same season if the roots haven’t grown through.
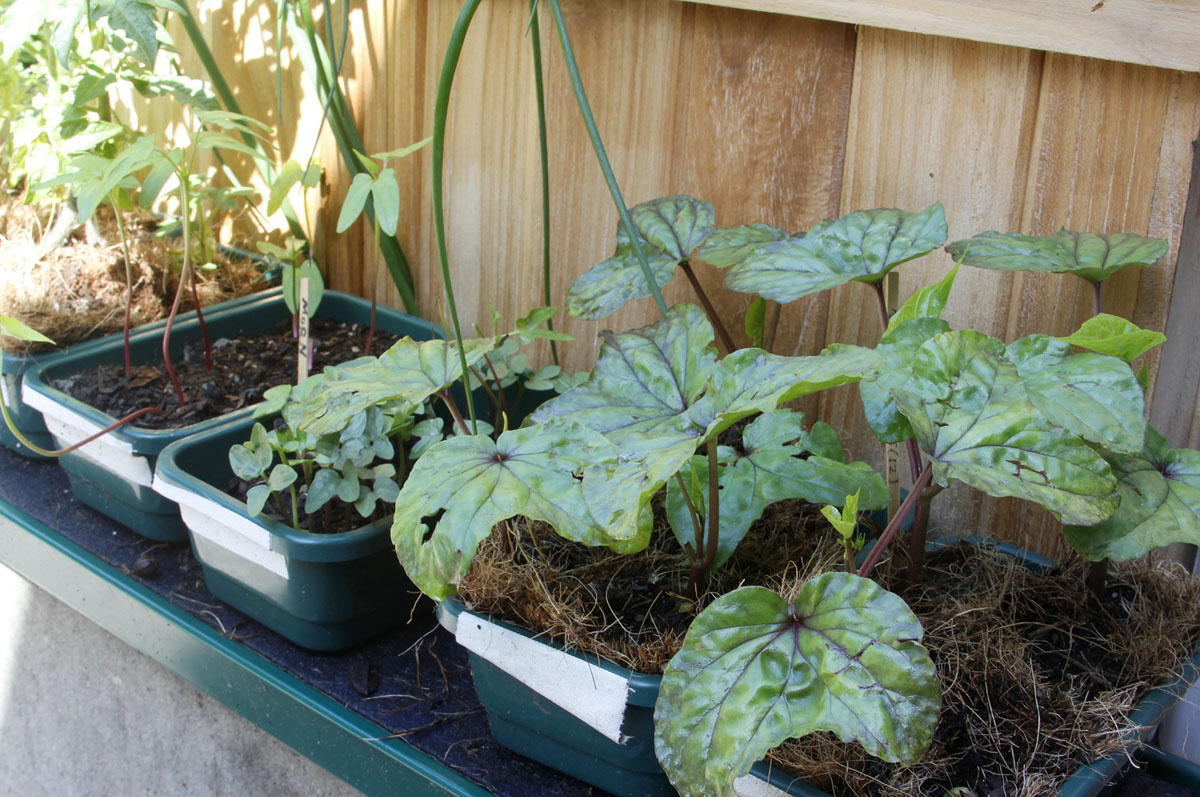
The leaves of Moonflower are particularly bizzarre. They remind us of the plant in Little Shop of Horrors. Their first leaves are huge and dinosaur-like.

With the lights turned off, it’s a slighly more appealing view. Here, tomato seedlings are starting up. Most or all of our seedlings are of the heirloom variety. I also kept heating mats underneath the trays, but there was too much airspace between the mats and the soil for much of the heat to transfer to the soil. I was hoping for 85-degree soil but typically it was more or less room temperature as shown in the thermometer below.
The Moonflower up front, during the hardening-off period. These are the few days before final transplanting when you bring seedlings outside to get used to the outdoor temperatures, especially the cooler nights. This way they will be shocked less when transplanted into the pots or ground.
I don’t have photos, but depsite the better lighting this year, we still suffered a large setback from damping-off. This is a disease which strikes seedlings. It’s a soil-borne disease caused by a couple of fungi, of whom have spores commonly in the air around us. If conditions are right, meaning soil which is damp and no preventative measures taken, it can take what appears to be a healthy seedling and knock it flat over onto the soil overnight. We lost almost half of our seedlings this way.
Here, we brewed up some Chamomile tea to help with damping-off, pictured next to a sad-looking tomato seedling that had been hit with the disease. What you do is you drink the tea before bedtime and you’ll sleep well and forget about your seedling troubles. Works great!
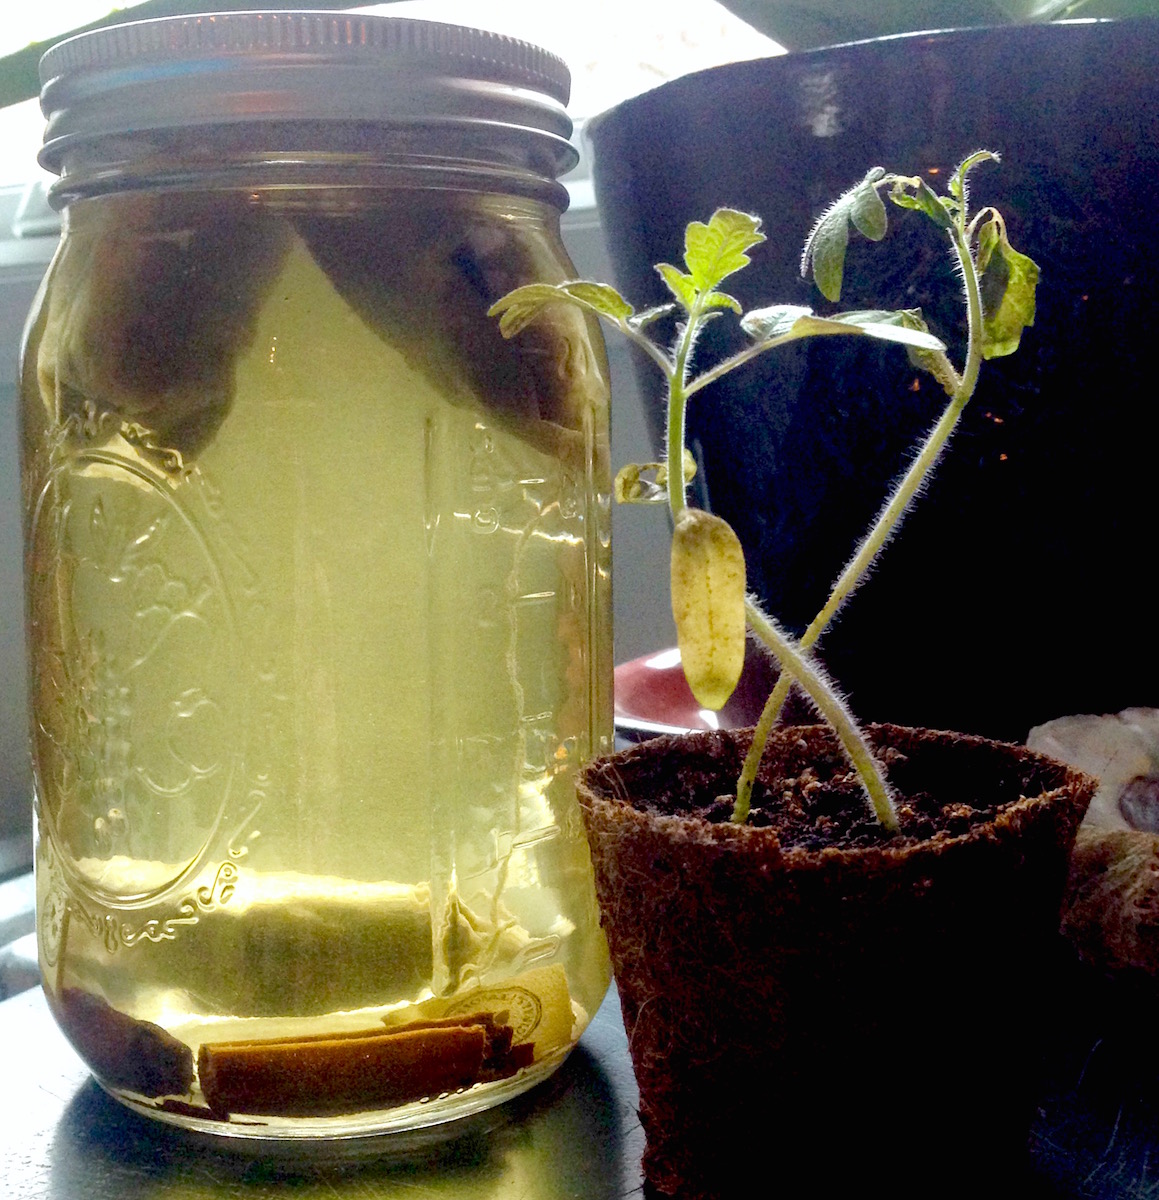
OK, what you actually do is brew the tea and then dilute it, and occasionally use the solution to water your seedlings. Chamomile has anti-fungal properties that will carry your seedlings through their vulnerable early stages. You can also use cinnamon. Now that I look, I do see some cinnamon sicks broken up in the bottom as well. It does work, but you should use it from the beginning of the process, I’ve learned. This does not hurt the seedlings.
A few seedlings which got hit with damping-off actually survived, but once transplanted into the garden they would always be stunted and sick. I had forgotten to take simple measures like the one above. Once a few died, I got the hint and took these measures. We had to resow quite a few seeds, but in the end it didn’t affect our total harvest by more than 15%, I would say. Almost all of our final transplants were healthy once we passed this setback. I will remember next year!
A few more seedlings hardening off. I kept them partially shaded as well to reduce the harsh sunlight, much stronger than the LED lights indoors.
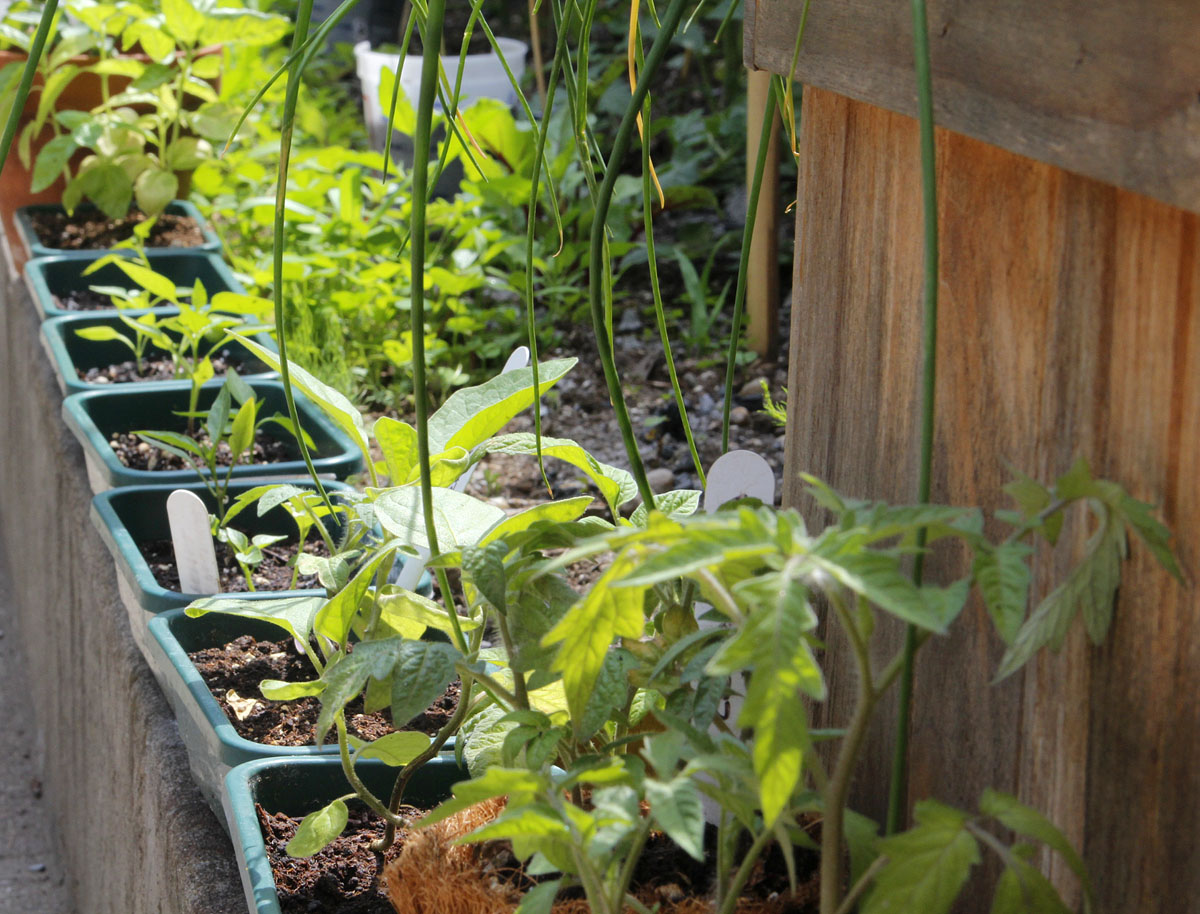
After a few days, we assembled the cast on the outdoor table for transplanting day! Here they all are, gathered onstage.

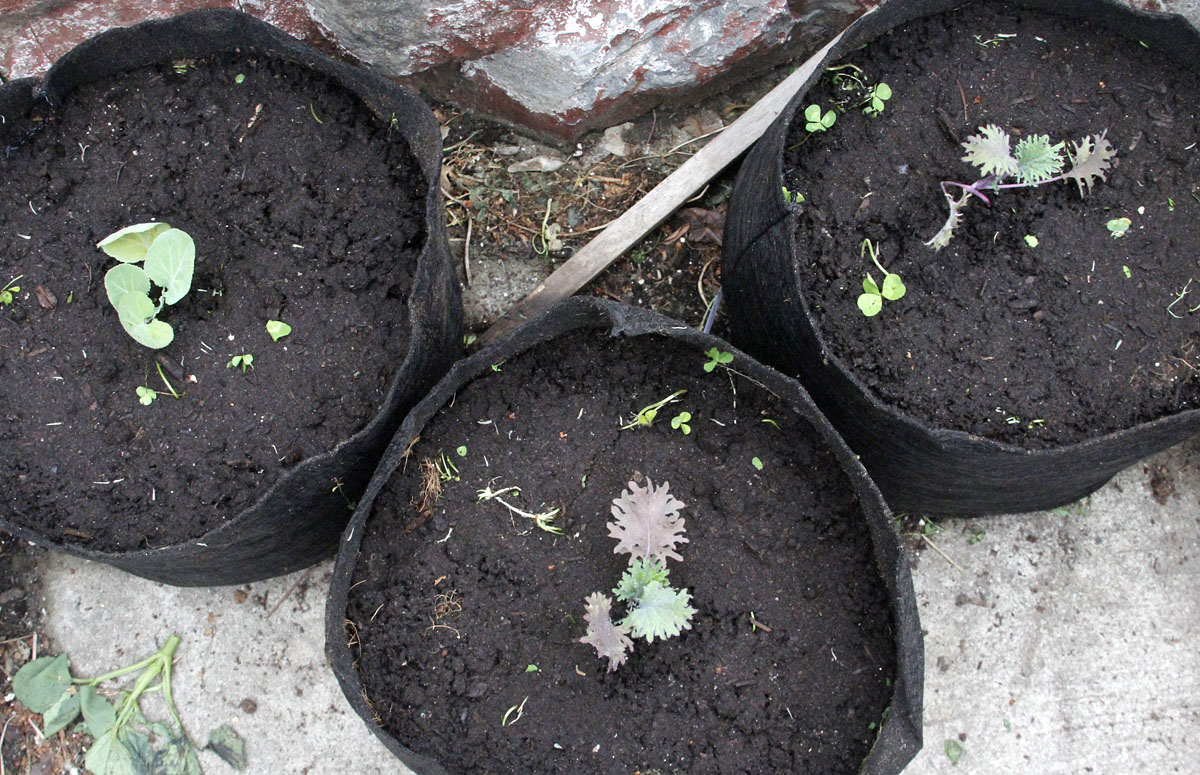
Here are a few of our Brassicas, transplanted into their own pots. This year we switched out Dino/Tuscan Kale in favor of Red Russian Kale, and swapped Rainbow Chard for Collards. We also swapped out our ugly plastic round containers for these slightly less ugly soft pots, called SmartPots, although there are many brands and generics. Supposedly they prevent the plant roots from circling endlessly around the hard perimeter, keeping them from becoming root-bound. They also drain completely, lessening the concern about heavy rains or overwatering. I thought they would also be easier to cram into tight corners of the garden, whereas the hard pots always leave empty space. So far so good on these guys. Supposed to only last a few years, but our plastic pots were cracking after two years anyway.
We placed potted seedlings in their spots as a dry run, although we had a pretty good diagram of where they would all go… drawing up diagrams is one thing you can do waiting for the weather to warm up! Here, our eggplant patch, with a cucumber lurking the fence, where it can climb freely.

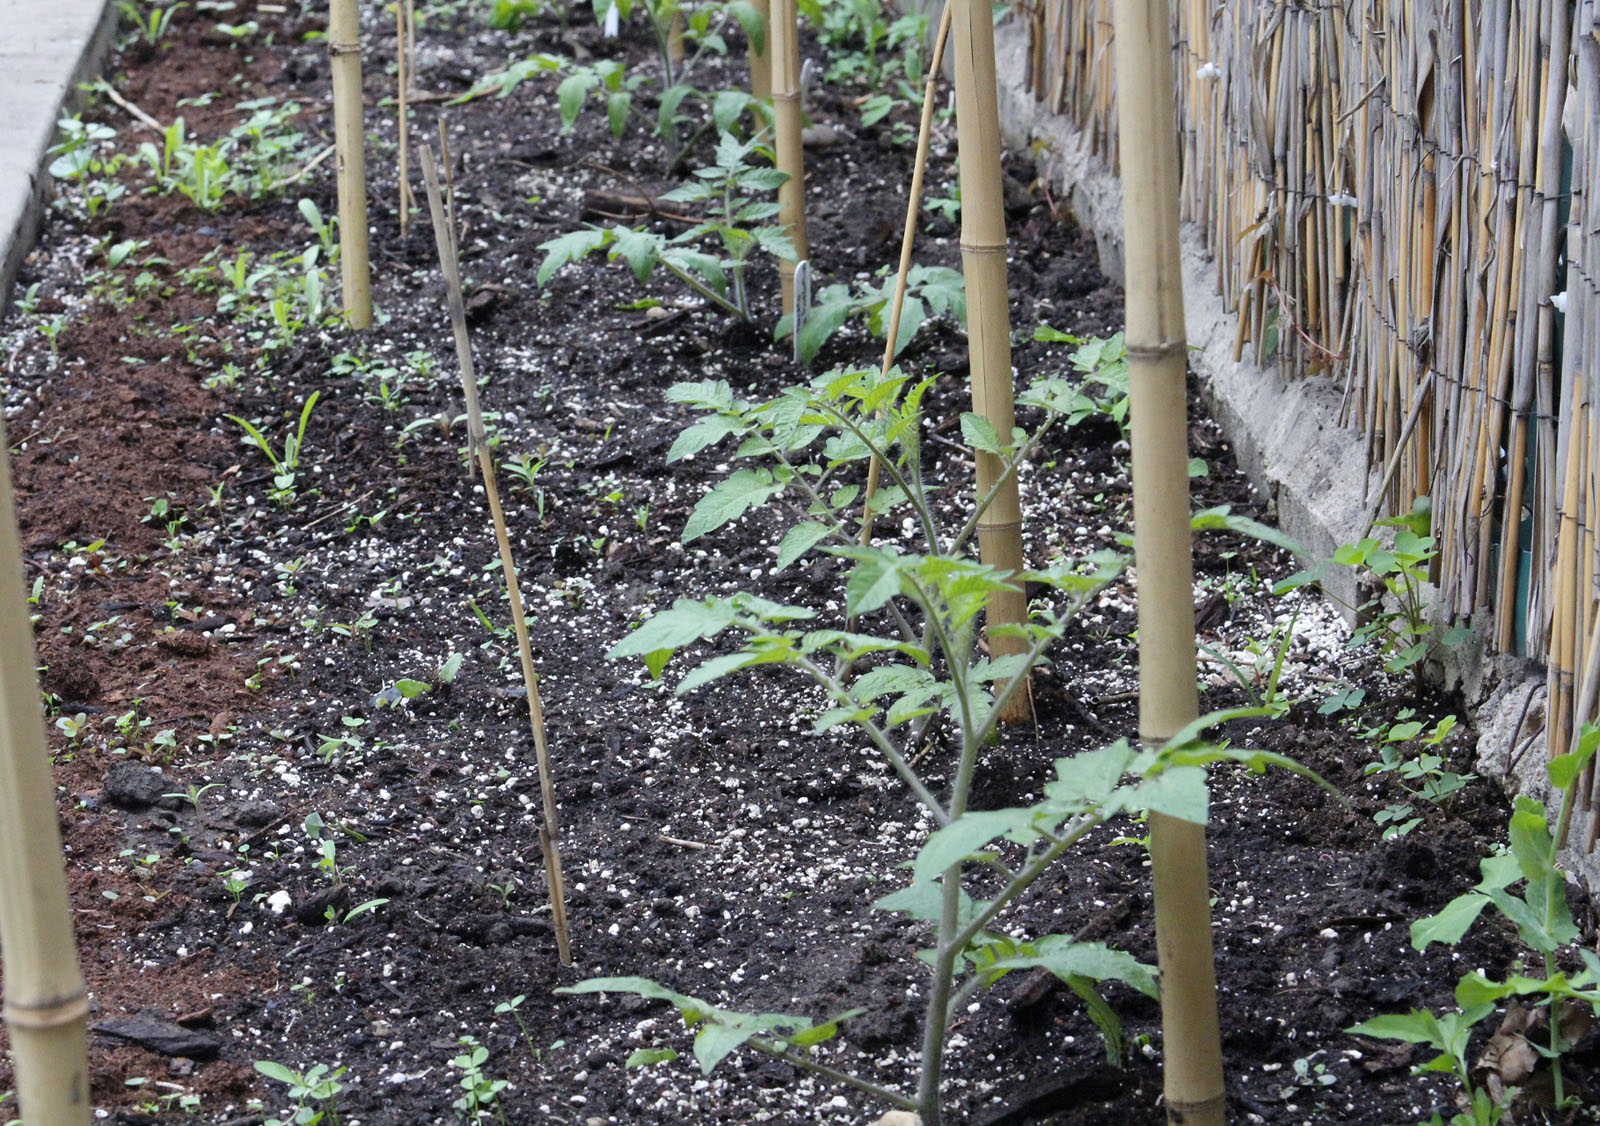
We decided to try our heirloom tomatoes in the western bed this year, and gave them more spacing. It’s the sunniest spot, never really gets shade, and we reduced our tomato rows from three to one. Six plants instead of nine. That ended up being a good decision. They were much easier to manage this year. Much less pruning and tangled growth, and the fruit were much easier to access. Once I’ve added up the harvest for the season I’ll be able to compare to the yields, six spaced plants versus nine crowded ones. Behind them along the fence would be peas and beans, and on the inner edge of the bed would go a row of mixed wildflowers.
I like the old garden trick of planting tomatoes deep, even burying their first set of leaves. The buried stem will grow more roots, anchoring the plant more securely and allowing for more nutrients and water to be absorbed by the larger root system.
Once transplanting happens, you breathe a certain sigh of relief. Of course, they are not out of the woods yet.