I was interested in starting a mushroom growing spot in our garden, and I had proposed a separate mushroom growing workshop to the Gowanus Canal Conservancy, our neighboring environmental stewards. I was also a longtime follower of Paul Stamets, a renowned mycologist (specialist in fungi) who coincidentally gave a talk I attended in Manhattan recently. I thought I would use the garden as a test run of the workshop as I had never done log inoculation before, though it looked super simple. In fact, it is super simple.
I ordered some ‘plug spawn’ which are pre-inoculated wood dowels commonly used in mushroom cultivation, from Fungi Perfecti, one of the larger suppliers. Plug spawn of Shiitake, Lion’s Mane and Phoenix Oyster arrived a few days later, along with a couple of other basic supplies, some of which came from another supplier, Mushroompeople. Here we are going through the steps of the log inoculation. The hardest part was finding the proper log species to match the mushrooms… that would be much easier out in the countryside. Logs in the city are harder to source. Eventually I spotted some freshly cut ones in the neighborhood. We think they are either Ailanthus or Little Leaf Linden, both common hardwoods around here. Hard to tell the species without their leaves.
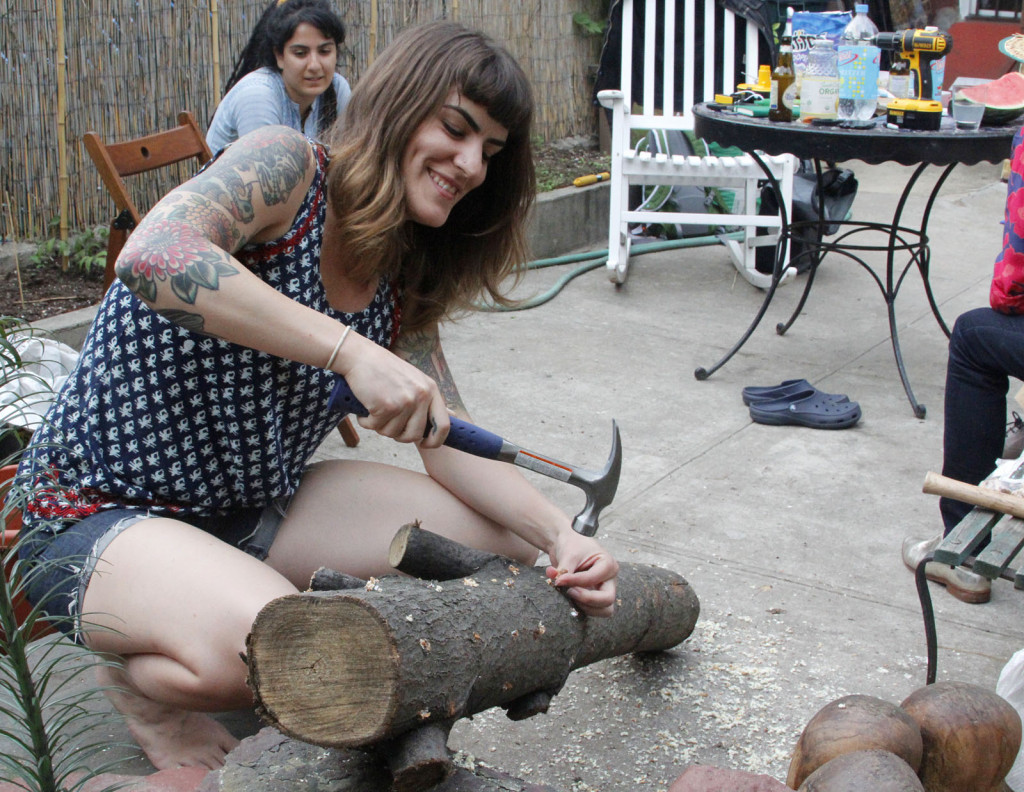
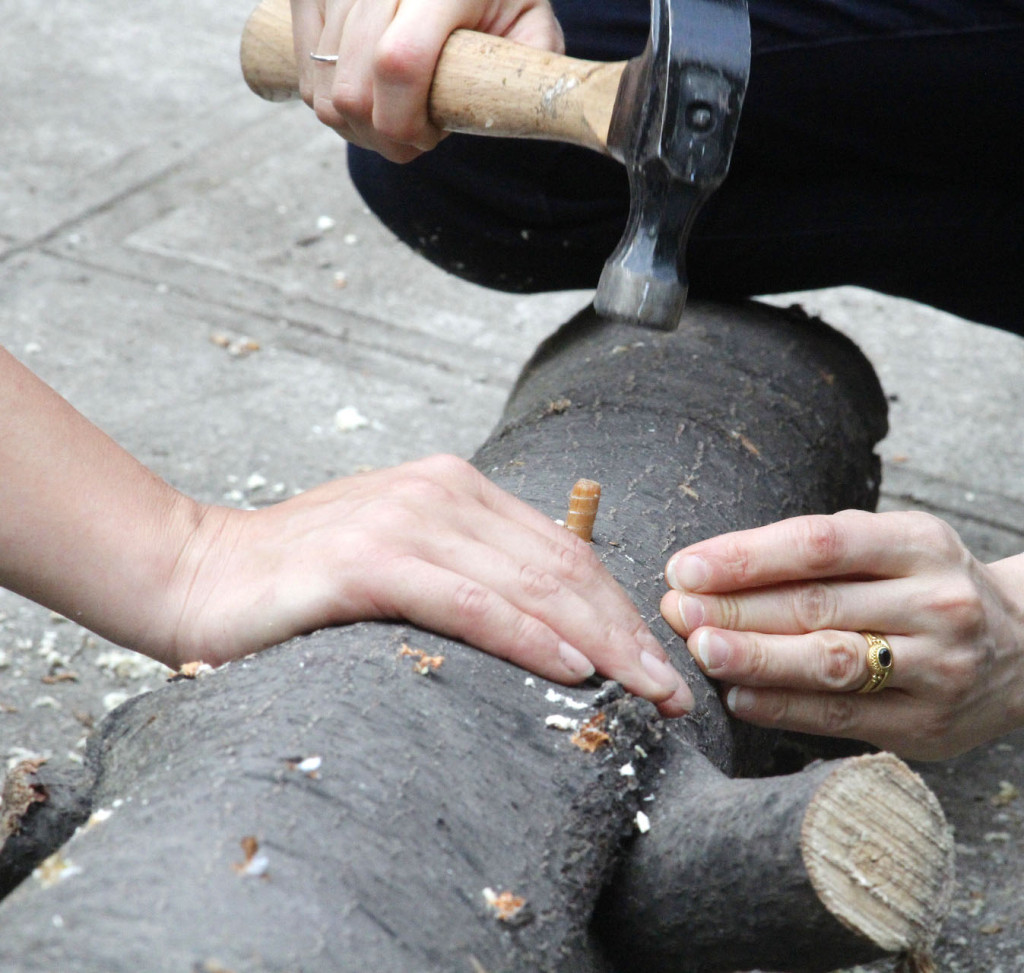
We drilled 5/16″ holes in the logs (the same size as the plugs) in a grid pattern. We hammered the plugs in, which are covered in fuzzy white mycelium, the tissue which represents the middle stage of growth in the fungal life cycle.
It took only a short time to drill and plug the logs. Then we melted a little wax and dabbed it onto the visible holes. This prevents infection from competing fungi and also prevents insects getting at the mycelium. Our barbecue grill was handy for first grilling up dinner and then melting the wax as the charcoal cooled off to medium temperatures.
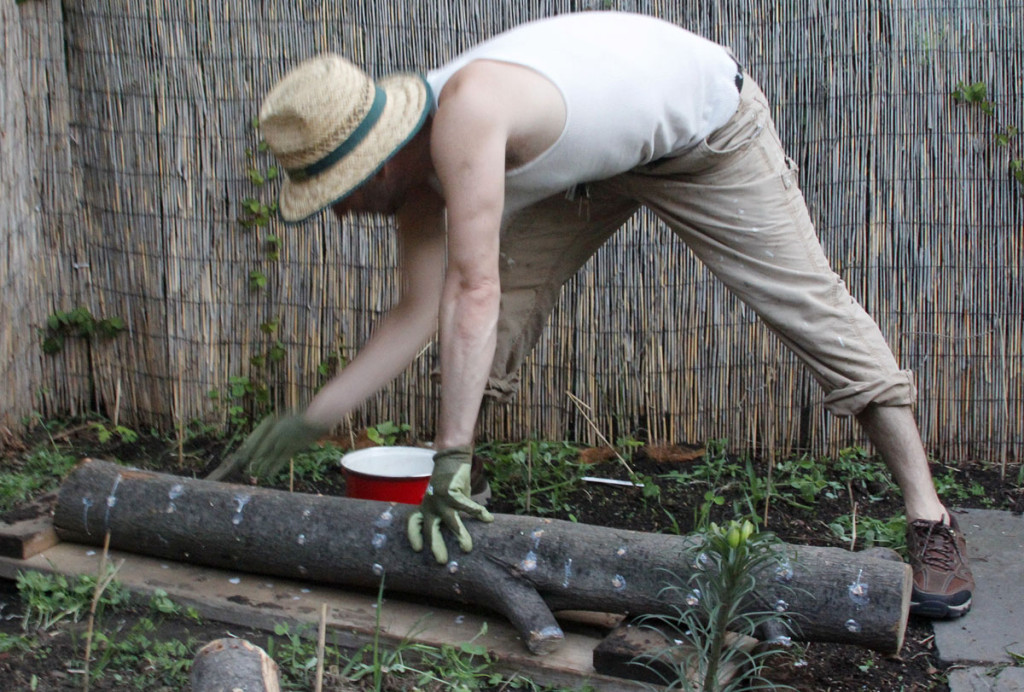
The result was not as pleasing to the eye as the raw logs or the step before waxing, but after a few weeks the white spots fade to more or less transparent. We laid them just hovering above ground on some bricks, in the shadiest, dampest corner of the garden. This corner gets little to no sun and it was good to find a project that put the shaded spot to good use. We were hoping that the beans and squash we planted between the logs and the fence would end up providing even more shade to the logs. You don’t want them to heat up or dry out as the mycelium will die and you won’t get mushrooms.
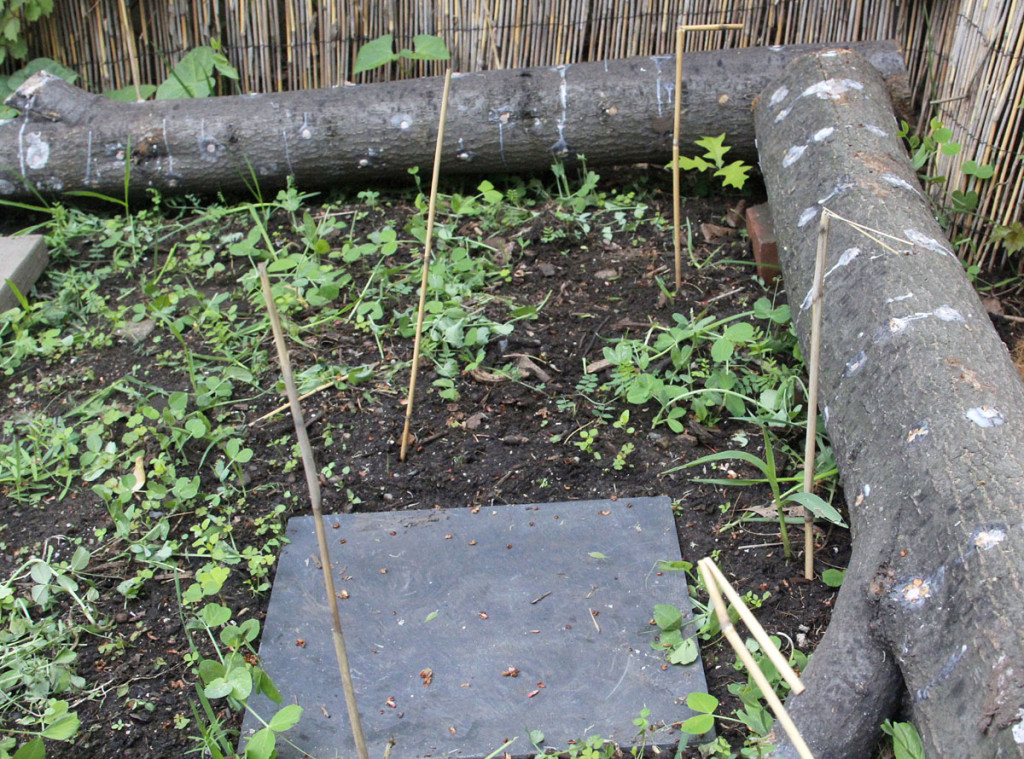
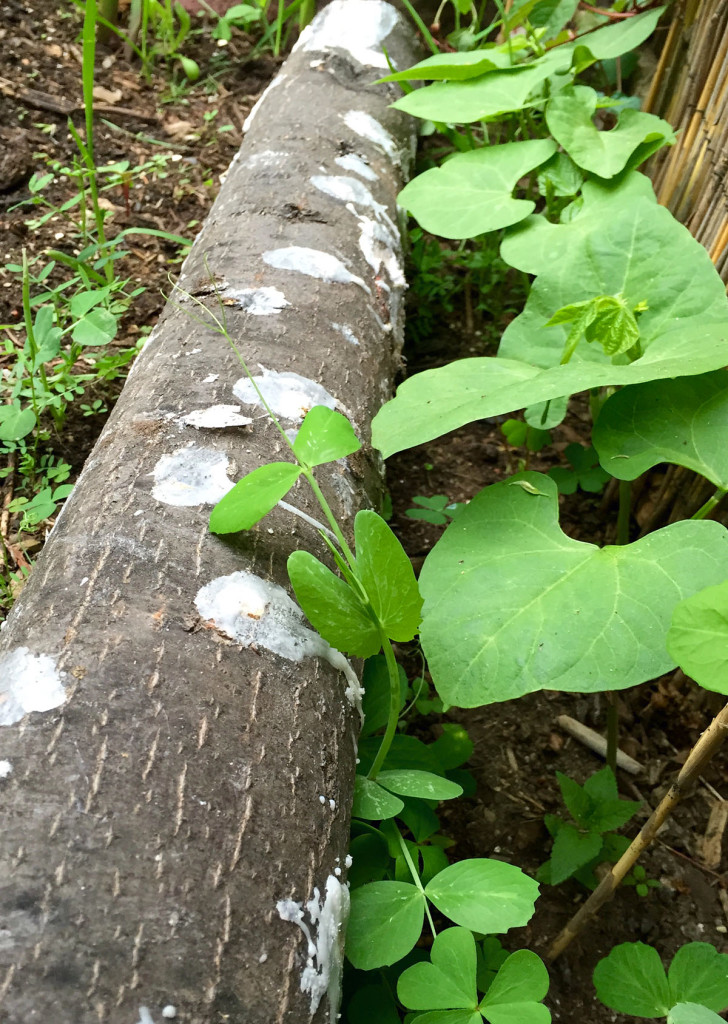
Indeed, our bean-shading strategy worked just fine. Soon enough the logs kind of disappeared into the undergrowth. During the season I made sure they did not completely dry out or heat up for extended periods of time. When we installed drip irrigation, I ran one of the drip lines across the tops of the logs as well.
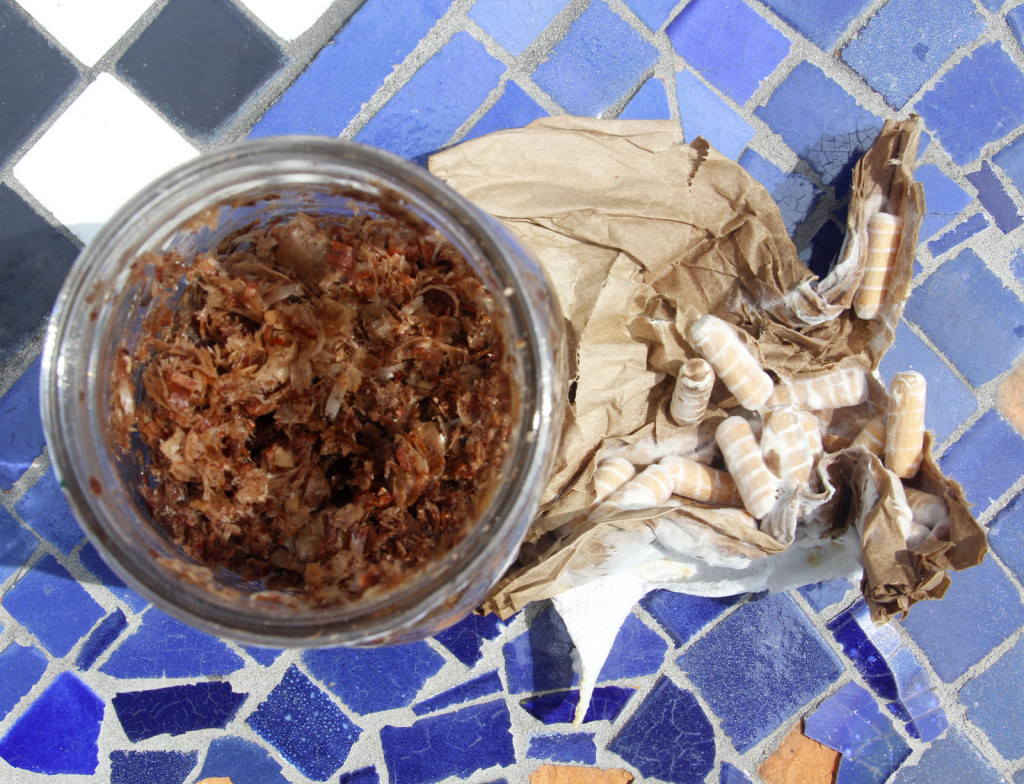
We had a few plug spawn left over from this operation. Here they are on the right. I may have waited too long to try this, but I tried propagating the mycelium out into new substrates such as brown paper and wood chips. They did populate the paper to an extent, but then they kind of ran out of steam. I found the wood shavings somewhere, so could not be 100% certain that they did not contain some antifungal species such as cedar. I had hoped to then transfer inoculated wood shavings into new wood chip beds which would be shaded by flowers. This experiment needs some tweaking, but I crippled it by waiting several weeks to inoculate.
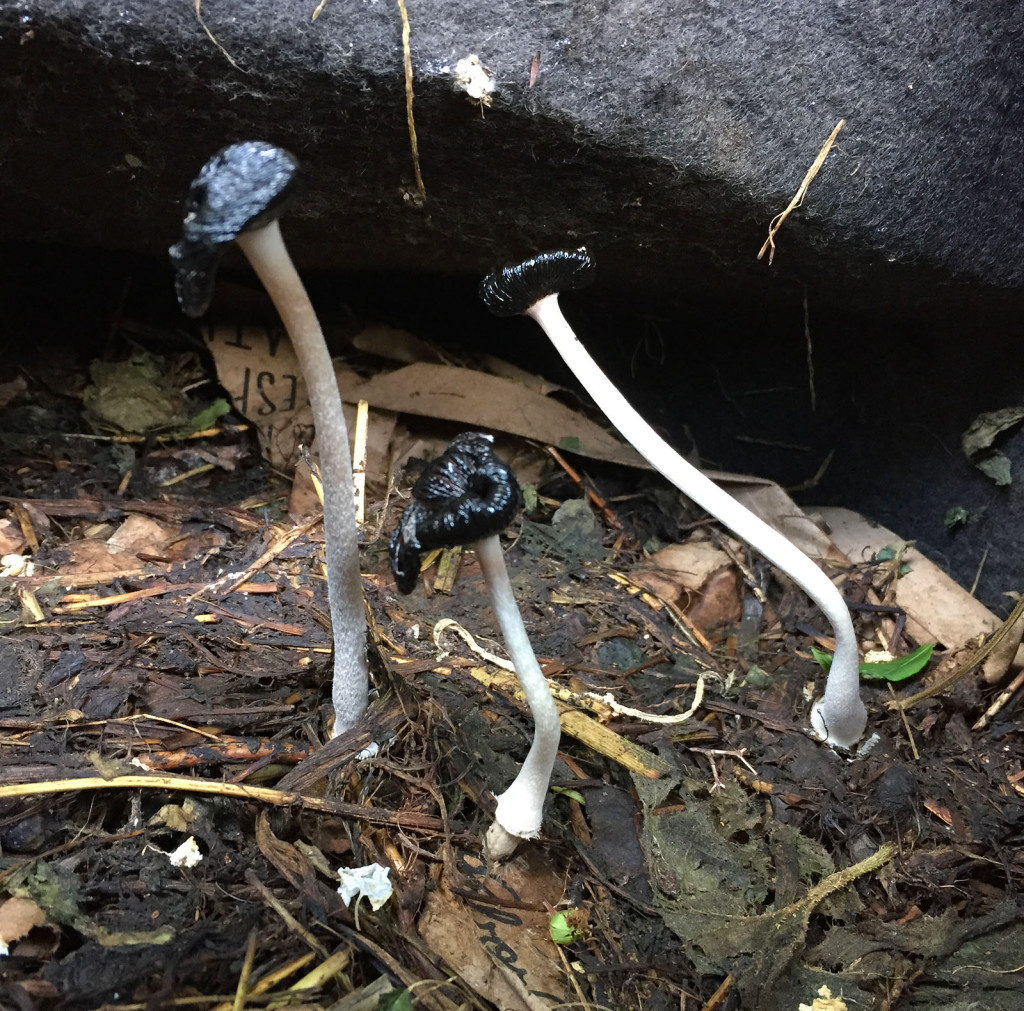
These mushrooms were just random ones, species unknown, that I found growing in our little compost pile. Not edible, I’m pretty certain. However, this is something that I would bring up in the workshop a few weeks later: mushrooms play a key role in our ecosystem by breaking down organic material into simpler substrates—they help to create compost.
