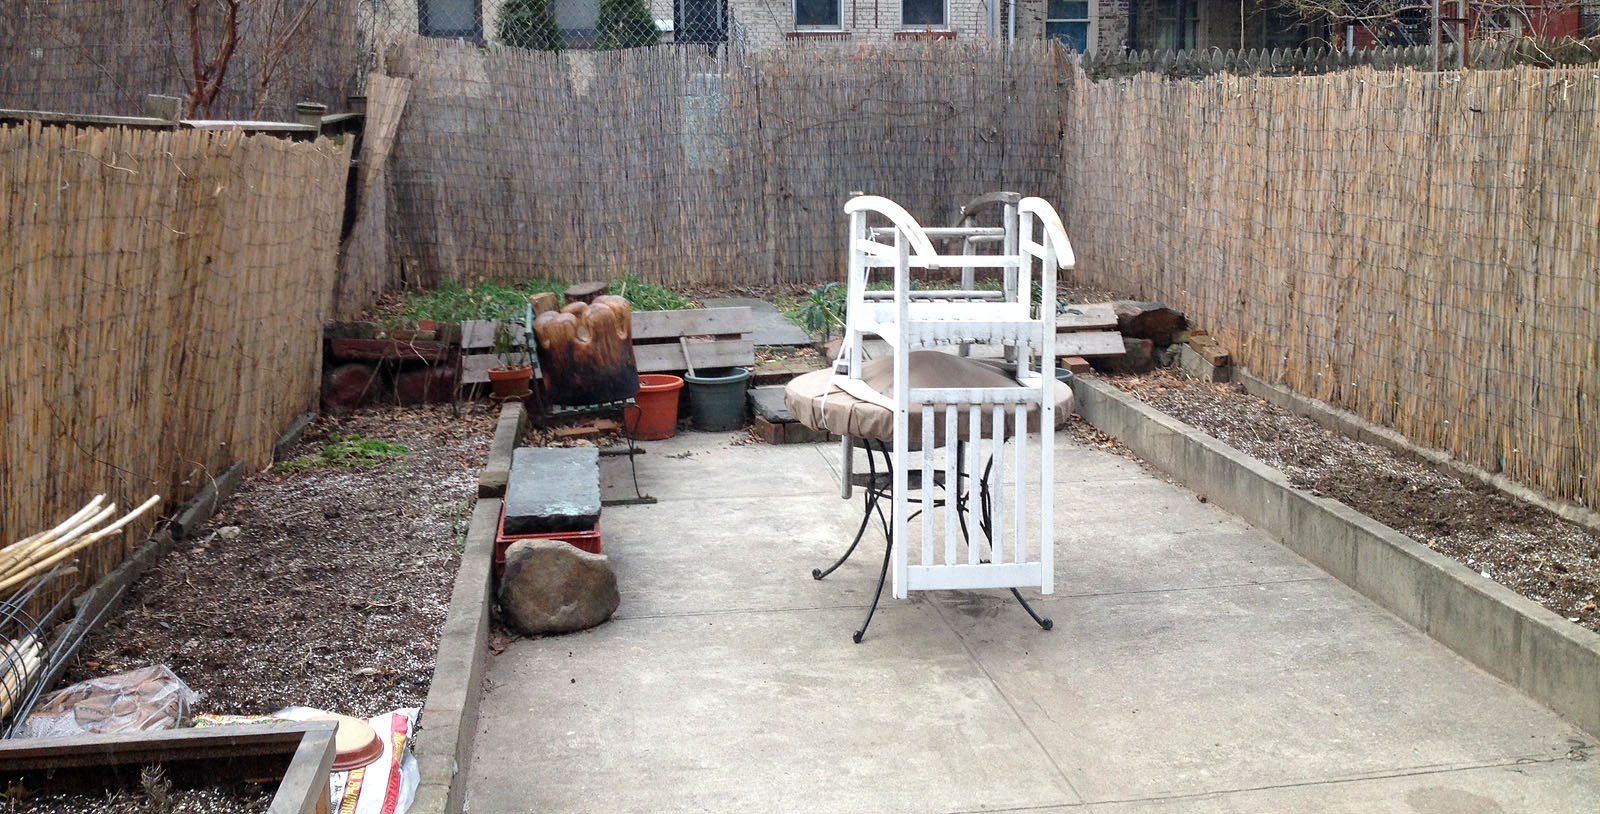
Springtime Soil Preparation
Sometime in early Spring of 2015, we spotted a few bulbs sprouting up in the side beds and the fall green manure cover crop perking up in the rear bed. I knew that the green manure mix was supposed to survive the winter, but I was impressed all the same. It was great to have some green shoots decorating the bleak vista without having to do any work to get them to appear.
Following the guidelines for the green manure mix, I waited a few weeks and then turned them under in order to kill them off, let them decompose as new organic matter, and give the soil a blank slate for our spring vegetables. I considered covering the soil to block the sunlight and prevent them from reappearing, but ultimately decided to try leaving them be. I was careful to avoid walking on the soil, so as to avoid compacting it. I’ve worked hard to bring it up to a friable, spongy texture over the past three years that the plants’ root systems seem to appreciate.

Drip Irrigation Installation
In early summer, as our young crops were beginning to take off, we installed a drip irrigation system. Furthering my adventures into small-scale farming practices, I wanted a way to reduce water consumption, to save time watering (which takes about 15 minutes on most days and was sometimes making me late for work), and to allow us to take vacations without having to rely on a friend or neighbor to keep up the watering schedule.
I found a kit from DripWorks for about $100. They wisely would not sell it to me without knowing the water pressure and flow rate of the outdoor tap I had had installed the year before. I measured them at 60psi (using a $10 pressure meter) and about 11gpm (using a five-gallon bucket and a stopwatch). This meant that I had to buy a pressure reducer, so that the high pressure would not blow out their system and bring us into a dispute about the warranty. They also wanted me to have a filter, to prevent the system from clogging with particles in the water.
This research and back-and-forth with the manufacturer cost me two or three weeks of time in the end, which was a setback but was an important step. I also bought a daily timer which would allow the irrigation system to turn on for specific durations on a specific schedule. All told it was about $150 up front.


There is a single large hose (the ‘mainline’) which runs from the installed outdoor spigot all the way around the edge of the garden in a large ‘U’ shape. Every situation is different, but that’s what I decided on as a first run to keep it simple. Then, as shown in this photo, we secured that line to the ground with large staple-shaped wire stakes, and also attached thinner tubing (the ‘dripline’) wherever we wanted water to come out. The dripline we received had pressure-regulated holes to emit water every 12 inches along its length. So we punctured a couple of dozen holes in the mainline and attached lengths of the dripline to it along the way to distribute water from the mainline into to the beds. Each dripline gets a stopper plug at its other end. Just think of a trunk, with branches.

Overall, the system worked well for our needs, but with a lot of tweaking. From this process, I learned a few things:
- Do this before planting and incorporate the irrigation system layout into your planting layout. For scheduling and work reasons, we did not get to do it until our plants were already about a foot tall. Dragging the hose around a garden at this stage means that young plants will get crushed if you’re not very careful. It took us at least twice as long to install due to this timing factor.
- Have at least one other pair of hands to help with the job and to help make sure any plants are not getting disturbed by the end of the hose you’re not working with.
- Purchase a flow controller (a simple valve) for each dripline you want to attach. They might run you a dollar each at most. This gives you much better control over the amount of water each part of the garden gets. Shady areas that receive the same amount of water as sunny areas will otherwise become permanently damp, and pots, which need less water, will overflow. These valves did not come in the kit we bought. It’s worth considering any extra pieces like this when you first buy the kit, or to try the kit first and then make only one more supplemental parts purchase for the season. Any additional small parts like these are likely to set you back more for the shipping than the nominal cost of the parts themselves.
- Start off with a short watering duration and work up from there. Initially, not sure how long to water for, I set the system to let out its tiny drips for four hours a day. The plants in the ground seemed happy and not at all overwatered. But I monitored both the health of the garden and my daily water usage on the NYC DEP website and was able to work my way down to only 10 or 15 minutes a day with the same results. I could have done that in reverse and saved even more water.
- Talk to or e-chat with a representative from wherever you are buying from. There are hundreds of types of water emitters designed for every conceivable situation. Some emit on the surface, others underground… there are sprayers and misters and miniature sprinklers. The standard kit only comes with the basics. Ask what you should use for ground pots, hanging pots, areas of grass or moss, etc. I had mushroom logs and asparagus beds, which might be best watered with different types of emitters than what came in the kit.
- For a dense urban garden like ours, I should have looked into dripline with more densely spaced emitters—maybe even 6″ rather than the 12″ in the kit. Even 12″ spacing is enough to leave several dry spots in our garden.
- Keep checking on the system, especially before going out of town. The dripline valves you install are cheap by design, and not foolproof—you can have one of them set perfectly on Monday and by Friday the same area is being over- or under-watered due to changes in pressure, temperature, and other random conditions. Next season I intend to install a moisture-sensitive main shutoff valve, so that during rainy days the system will be smart enough to skip a cycle or two without my intervention.
- Be sure to drain and store the system away from freezing temperatures in the winter. Mark or label the areas of the system that are meant to go in specific places to make it all easier to lay out the following season.
- Spare parts can be found online at other places than where you bought from. There are standard sizes. For the large valves at the spigot, use brass, not plastic—it will last longer and be easier to work with.
Our Composting Strategy
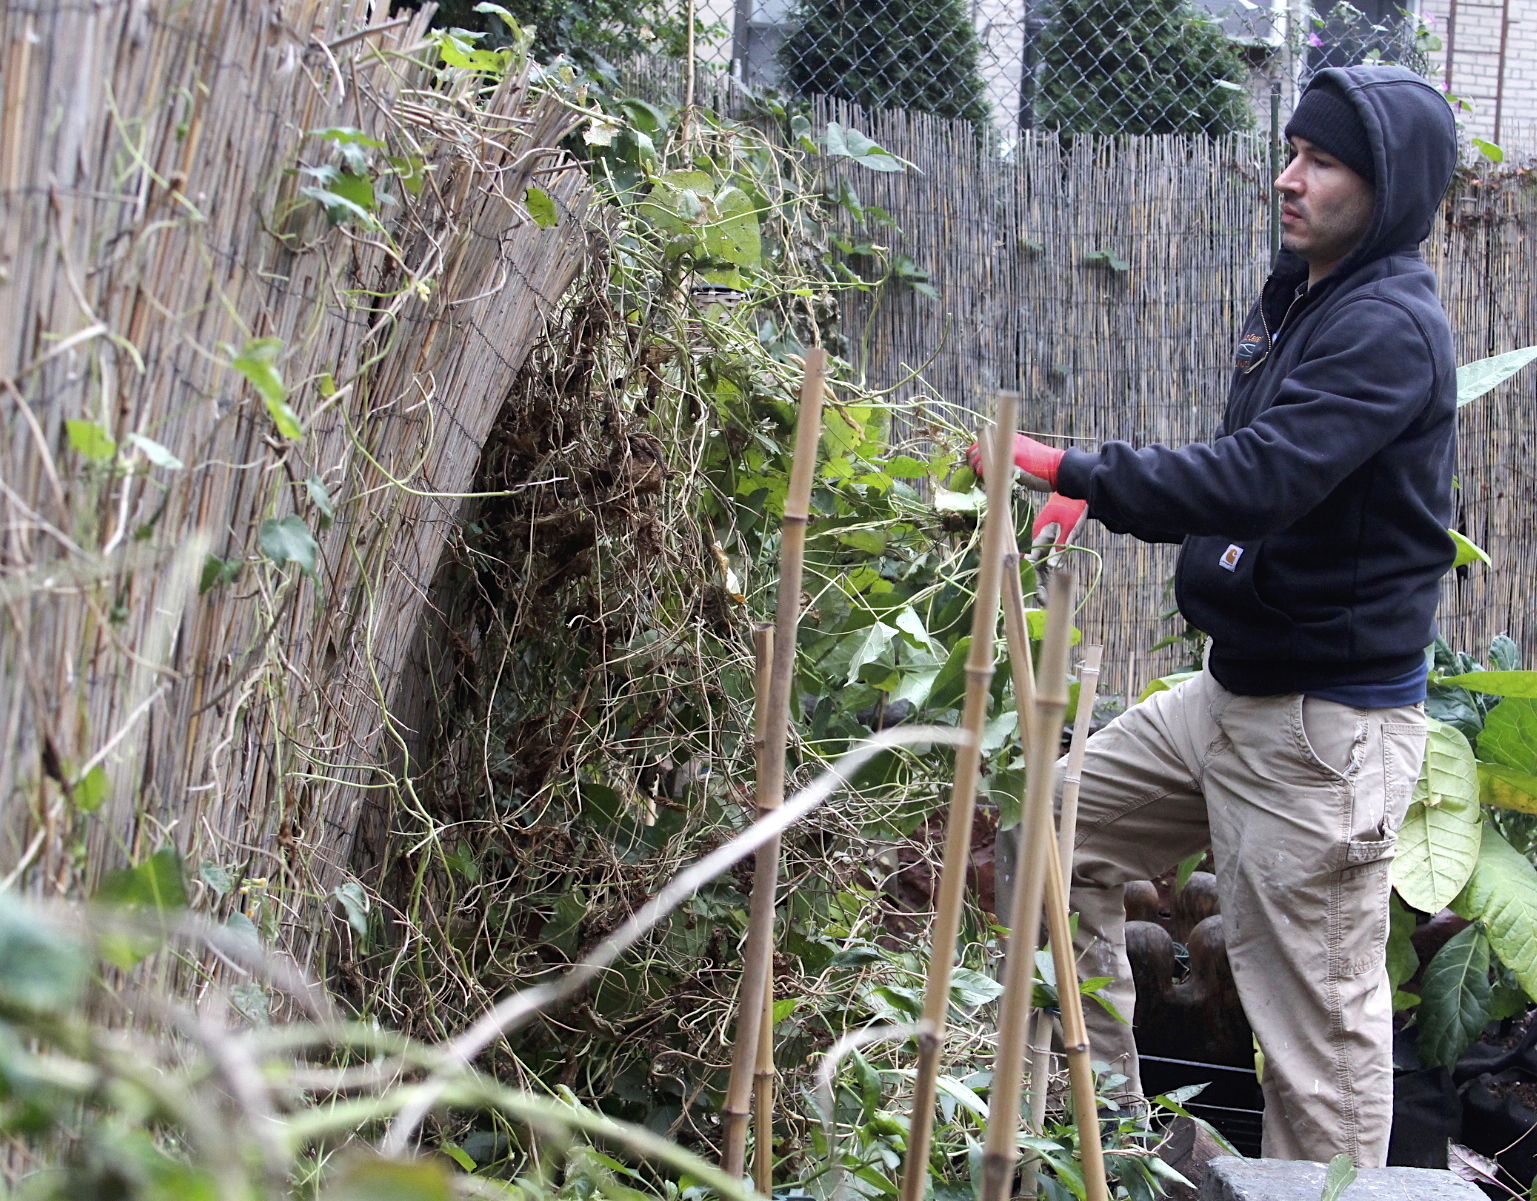
At the end of the season, it’s time to pull up dying plants and compost any that are more or less healthy. Any plant parts that we suspect might survive the composting process and regrow to take over the garden rhizomatically or otherwise, as well as any diseased plant parts, we leave out of the compost pile. These we bring to one of two local compost operations where the larger windrows should generate enough heat to eliminate that possibility. Healthy plants get chopped up and added to our own compost pile.
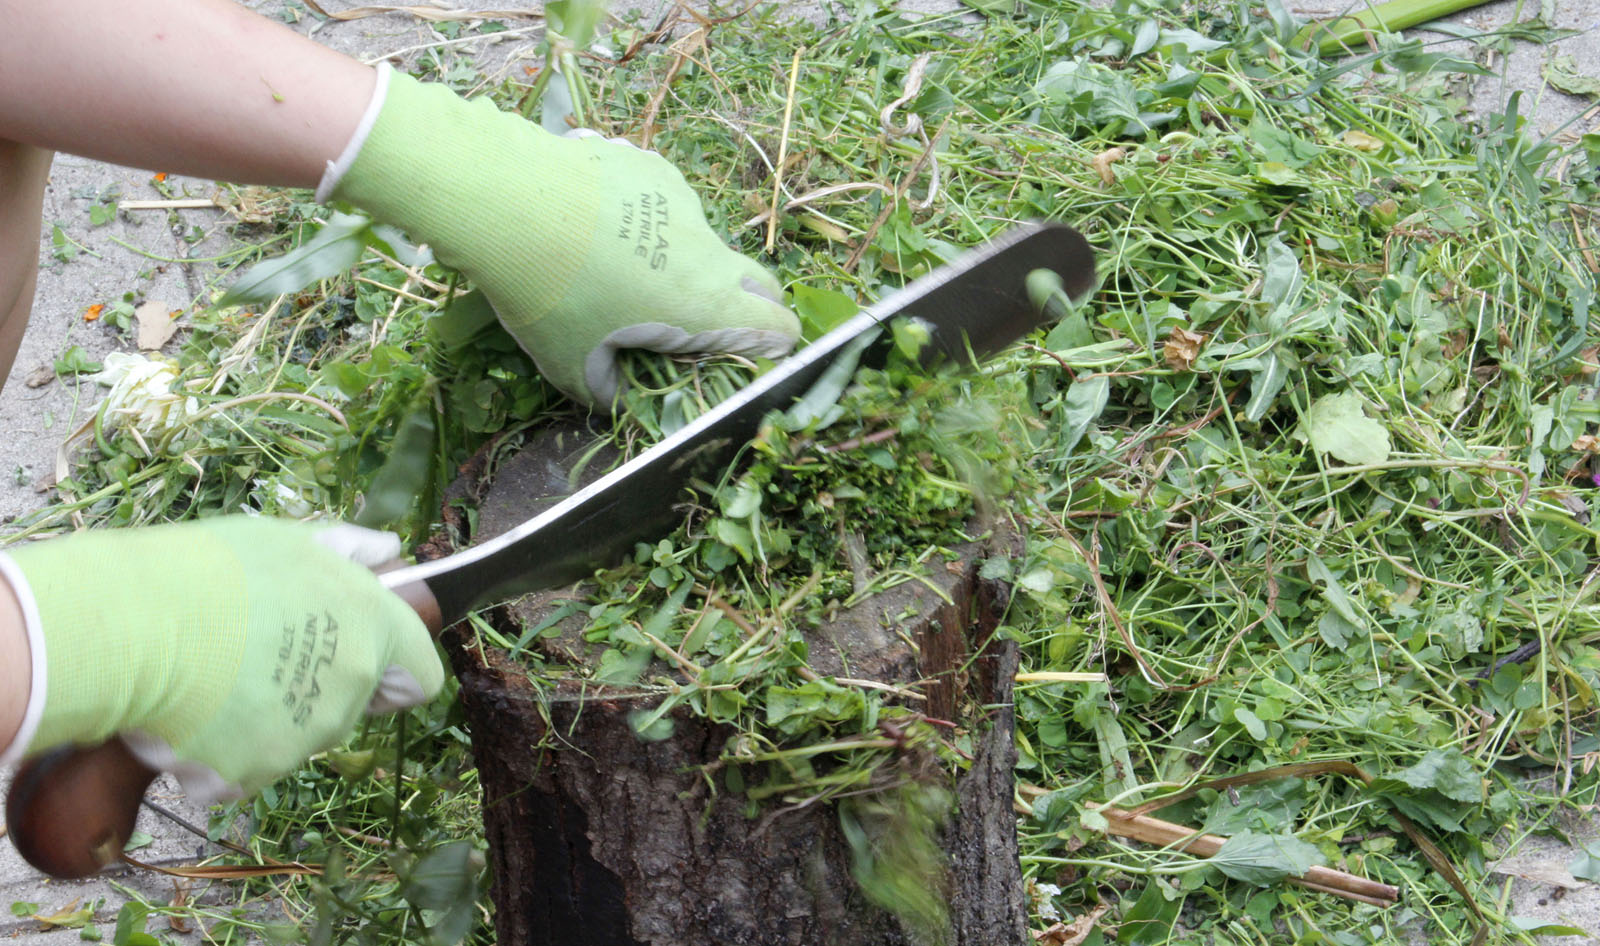
During the 2015 season, we stepped up our strategy of chopping up waste for sheet composting. Every few weeks we would do another mincing, which might take anywhere from a few minutes to an hour depending how much material we pulled out.

We also add brown paper and cardboard to the pile, and turn it occasionally to aerate it. When it’s dry, we add water. Within a few months, it’s looking a lot more like something we could be reincorporating into the soil. However, this does take time, and with the small amount of waste generated in our small space, these little piles won’t reach the steaming temperatures of a larger compost windrow. We probably incorporated about three gallons of our own finished compost back into the soil this year—this tiny amount represents the final distillation of many enormous piles of leaves, stems and roots. If it weren’t for the chopping step, we would have a much more difficult time managing the process, and our compost would have a heavy proportion of inconvenient sticks and stems.

We added various soil amendments over the season, but did not receive our soil tests back from the lab in time to amend the soil before planting. Sometimes this meant adding amendments around the plants (side-dressing). This is a good way to unintentionally hit the leaves in addition to the soil, which is not ideal. I have yet to discover a shovel or scoop that has the precision of a scalpel, so broad distribution it is. I’m trying to bring up the pH of the soil to be less acid than it is now, so I’m adding wood ash from the BBQ and lime, shown here. I’ll test again soon, but these things take months or years to take effect—you can’t effectively raise soil pH overnight.

Cover Cropping
This is something new to me in the last two years, and probably something not often used in urban gardens, or gardens in general. It is more commonly used on farms. But I try to improve the soil every year, and educate myself along the way, learning the methods that might be applicable on a larger scale. This is the second year I’m trying out Johnny’s Fall Green Manure Mix, from Johnny’s Seeds. Says Johnny’s:
“This ready-made mix is comprised of winter rye, field peas, ryegrass, crimson clover, and hairy vetch. Vigorous late summer growth provides winter erosion control. The peas, clover, and ryegrass will winter kill to provide organic matter and soil cover. The hairy vetch and winter rye will regrow in the spring to provide nutrients for crops to utilize.”
So some of these plants will die off and become first mulch and then compost, right on the spot. Others will survive the winter, and can be killed off manually and turned under to produce a similar effect. The legumes, if allowed to survive a bit longer, will take nitrogen from the atmosphere and fix it into the soil, increasing the nutrients needed for crop growth. Along the way they will create a blanket of shade underneath their leaves, helping to suppress any weeds which might have otherwise taken root.
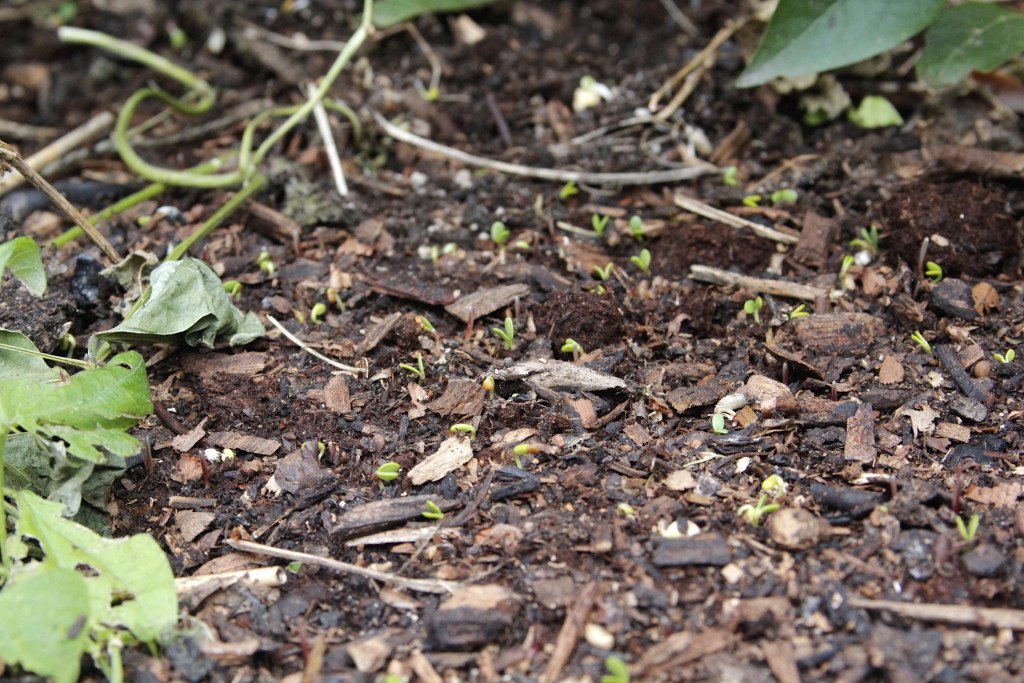
I also am trying out Buckwheat this year in some areas, which is another cover crop. With the small amount of space we have, I don’t have the luxury of pulling up every single late-fruiting plant in favor of starting the cover crop in the same patch. So I either sprinkle the cover crop seeds in between while the existing mature plants finish out the season, or else I wait until the last minute and hope that an early frost doesn’t kill off the late-planted cover crop in its infancy. In 2015 we were lucky enough to have warm weather into November with a couple of cold days mixed in, but no frost in sight the following week. The visiting birds may have picked out a few of these seeds, but I applied the seed generously to account for that possibility, and the birds seemed more interested in grubs—at least, so we hope. I also threw down a thin layer of compost to cover the seeds. Within about a week of spreading, in late October, I was seeing germination.
A few days later I began to feel more confident that the cover crops would work their magic without being killed off by a rogue early frost. Our first hard frost was on November 25th, but the temperatures have stayed comfortably above freezing well into mid-December this year, and the cover crops are now about five inches tall in all areas of the garden at the start of winter. So far so good.

With the benefit of unseasonably warm weather after that first brief frost at the end of November, the cover crops were coming up nicely.

By mid-December, all three beds were looking happy and healthy.


After looking out upon a bleak, dormant garden scene for a few winters now, I can’t overstate how refreshing it is to have so much thriving green life in our planting beds in the colder months. They offer real benefits to the health of the soil, but I can also recommend them if nothing more than for the visual effect—without them, the garden truly looks dead. It gives us a compelling visual preview of all the good things to come next season… all of which begin with healthy soil.

Safe Management of Heavy Metals in Soil
It’s very common for beginning (and even seasoned) urban gardeners to be concerned about heavy metals and other contaminants in their soil. Often, when you tell a friend you are growing vegetables in a city, your first response will be, “Really? Wouldn’t they be unsafe to eat?”
My research and experience with this reaction is that it is a valid concern, but overstated. If it is an issue, it’s certainly not irreparable. There is one spot in our garden that needs more attention than others in this regard. What I’ve learned is that there are a few things you can be aware of and some techniques that you can put into practice that will help give you high confidence in the safety of what you grow.
- Have your soil tested by a reputable soil testing lab. Make sure that they test for heavy metals as part of the test suite. Follow their instructions carefully about how to take and prepare your samples.
- Follow guidelines about how much of a given element should be cause for concern. Casting our minds back to high school chemistry class, recall that heavy metals are elements, not compounds—they cannot be ‘broken down’ into safer states they way certain other more complex polluting molecules might.
- Understand that ingesting lead, a heavy metal, does have associated health risks, but that lead affects children far more severely than adults. Children are more likely to be exposed to lead from playing in contaminated soil than they are from eating vegetables grown in it. As an analogy: lead paint on the interior walls of houses was very common until a few decades ago, but many people have the misconception that the paint’s presence on the wall is in itself a danger. Actually, only paint chips from peeling paint, eaten by an infant, or paint dust from demolition or renovation, if inhaled, present a problem. There are no ambient lead ‘fumes’ coming from old lead paint. A similar situation exists with lead in soil; the greatest danger is most likely that children could get it on their hands and then put their hands in their mouths.
- Lead, arsenic and other heavy metals are present in some ‘background’ quantities in soil as naturally occurring elements. These levels can be elevated in inhabited areas due to dumping, disposing of paint, and the weathering of paint from the sides of buildings. Until lead was banned from being added to gasoline some decades ago, it was present in the air due to automobile exhaust. This lead settled into the soil and every other surface over the course of many years. We no longer have the issue of new layers of heavy metals being deposited onto our soil from car exhaust.
- Every inch of new soil you layer on top of your garden beds puts your plants’ roots an inch further away from any contaminated soil deeper in the ground. Also, adding compost and other organic matter will reduce the amount of heavy metals absorbed by plants. This also mitigates the risk to children at play, unless they are digging below the top layers of new soil.
- Most heavy metals, if absorbed, concentrate in the roots of plants.
- Raising the pH of the soil toward neutral (most soils are acidic to start with) will lessen the amount of heavy metals that a plant will absorb. Several soil amendments can accomplish this such as lime or wood ash. Most vegetables prefer slightly acidic soil, so you may see slightly reduced yields as a side-effect, although I have not seen it to be a problem.
- Leafy greens such as lettuce or spinach are most likely to have heavy metals present in the edible parts of the plant, should those metals be present in the soil. If you grow these plants in containers or raised beds, their roots will only be exposed to the high quality soil that you provide them.
- Washing any leafy or fruiting vegetables from the garden is an easy way to rinse off any exterior contaminants including soil residue blown by wind or spattered by rainfall.
- Root vegetables such as carrots and beets will contain more heavy metals, but it is largely present in the skin of the root. Peeling them before eating will reduce the risk.
- Fruiting vegetables, such as tomatoes, cucumbers, squash, etc. will have far lower concentrations of heavy metals in the edible parts of the plant. These are safer to grow in the soil.
- You can have the edible parts of the plants you grow tested by soil labs as well; this should give you an idea of what does and does not end up in your food, regardless of what condition your soil is in. You might consider comparing those results to produce you get at a local farmer’s market as a baseline.
- Certain plants have abilities as phytoremediators—that is, they absorb heavy metals in much greater quantities than most plants. Over time, you can leverage them to reduce the amounts of pollutants in your soil, disposing of them safely as they reach maturity. These take the form of both annuals and trees. Municipalities around the world are using this technique to clean up contaminated soils.
- When you go for a medical checkup, try to schedule it in late summer or early fall when you’ll likely be eating the largest proportion of food from your garden. When they do your routine blood work, request additional tests for lead, arsenic, and other heavy metals if you are concerned about this issue. If you follow the above methods, you’ll probably find that your blood levels are normal as compared to the rest of the population. This data is a good way to reassure yourself and anyone who asks that the techniques you are using are safe.